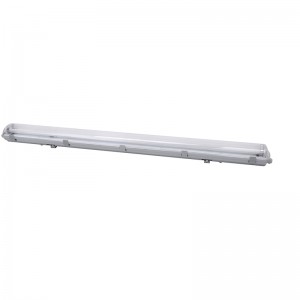
LINEAR BATTEN
Parameter:
| Picture | Description | Power (W) |
Voltage | Lumen Efficiency (whole light) (lm/w) |
Energy Class | DF | RA | NEW EMC/ERP | IP | Color temp | Product Size(mm) | |||
| L | W | H | ||||||||||||
 |
HB-BT-10W | 1.Faster connector; 2.CCT ajustable 3.Direct replacement for T5/T8 fluorescent tubes; 4.Flicker free,uniform,diffused light,creating a pleasant atmosphere; 5.Modern,popular,best choice for office,school,hospital,subway, etc. |
10 | 180-240V | 110 | E | >0.7 | 80 | Yes | 20 | 3000K-4000K-6500K | 333.4 | 75.7 | 23.9 |
| HB-BT-20W | 20 | 180-240V | 110 | E | >0.7 | 80 | Yes | 20 | 3000K-4000K-6500K | 600.3 | 75.7 | 23.9 | ||
| HB-BT-40W | 40 | 180-240V | 110 | E | >0.9 | 80 | Yes | 20 | 3000K-4000K-6500K | 1200.3 | 75.5 | 24.5 | ||
| HB-BT-50W | 50 | 180-240V | 110 | E | >0.9 | 80 | Yes | 20 | 3000K-4000K-6500K | 1500.3 | 75.5 | 24.5 | ||
| HB-BT-60W | 60 | 180-240V | 110 | E | >0.9 | 80 | Yes | 20 | 3000K-4000K-6500K | 1834.3 | 75.5 | 24.5 | ||
| HB-BT-CCT10W | 1.Faster connector; 2.Single CCT 3.Direct replacement for T5/T8 fluorescent tubes; 4.Flicker free,uniform,diffused light,creating a pleasant atmosphere; 5.Modern,popular,best choice for office,school,hospital,subway, etc. |
10 | 180-240V | 110 | E | >0.7 | 80 | Yes | 20 | 3000K/4000K/6500K | 333.4 | 75.7 | 23.9 | |
| HB-BT-CCT20W | 20 | 180-240V | 110 | E | >0.7 | 80 | Yes | 20 | 3000K/4000K/6500K | 600.3 | 75.7 | 23.9 | ||
| HB-BT-CCT40W | 40 | 180-240V | 110 | E | >0.9 | 80 | Yes | 20 | 3000K/4000K/6500K | 1200.3 | 75.5 | 24.5 | ||
| HB-BT-CCT50W | 50 | 180-240V | 110 | E | >0.9 | 80 | Yes | 20 | 3000K/4000K/6500K | 1500.3 | 75.5 | 24.5 | ||
| HB-BT-CCT60W | 60 | 180-240V | 110 | E | >0.9 | 80 | Yes | 20 | 3000K/4000K/6500K | 1834.3 | 75.5 | 24.5 | ||
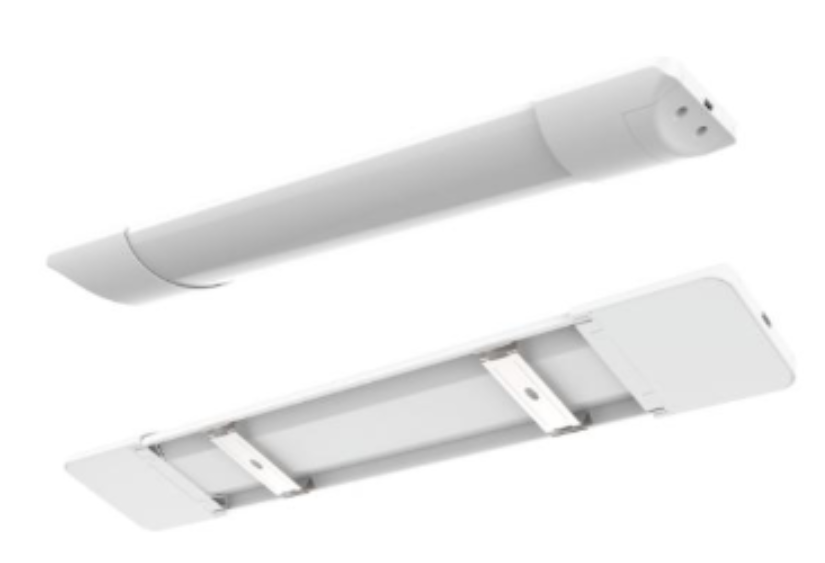
Install instruction
1.Choose the right position, drill two hole and insert the screw (make sure the distance between the holes is no less than50mm, Less than bracket length)
2. Shrapnel point it at the hole and then install the screws
3.Press the lamp body firmly into the mounting buckle to fix the lamp body, Slide the lamp body along the mounting buckle to the desired position as needed.
4. Connect the wiring, use insulating tape, and waterproof tape for insulation and waterproofing, turn the power ON and test.

Write your message here and send it to us